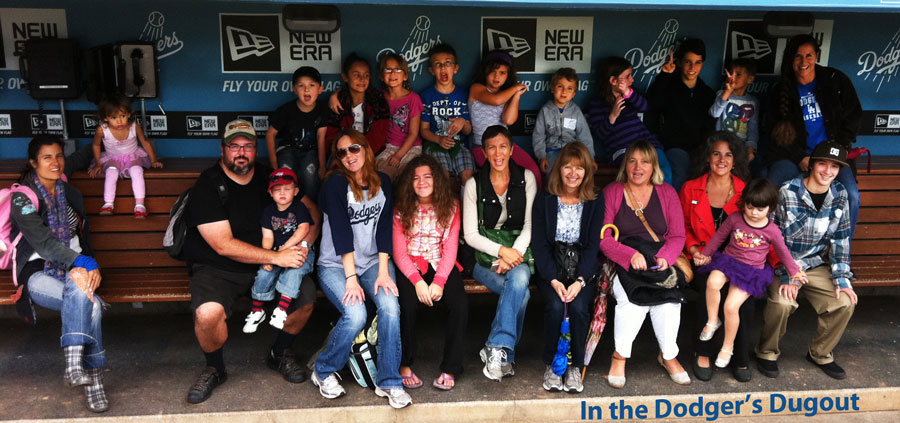
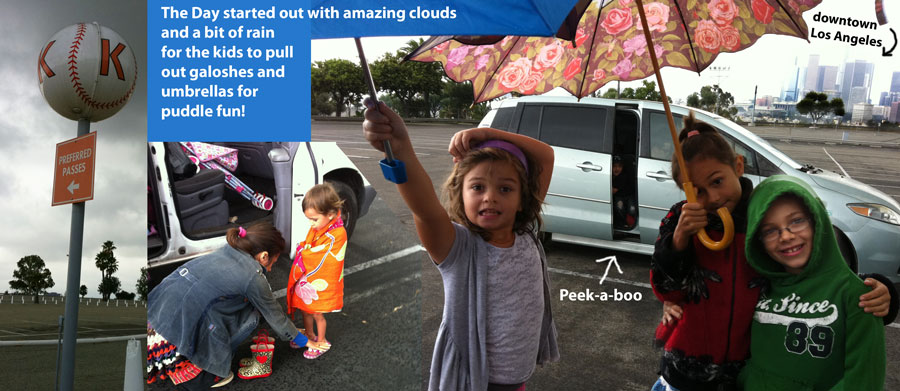
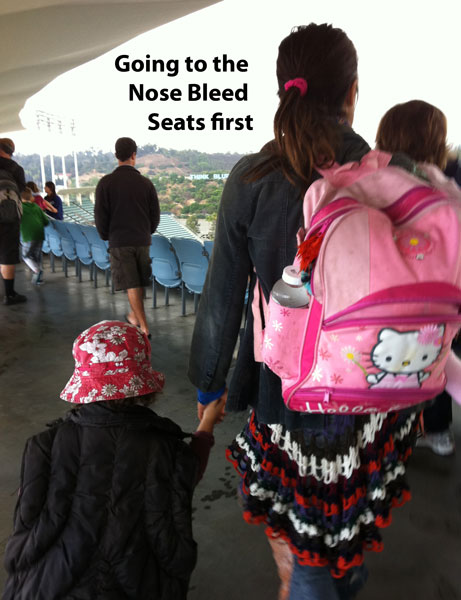
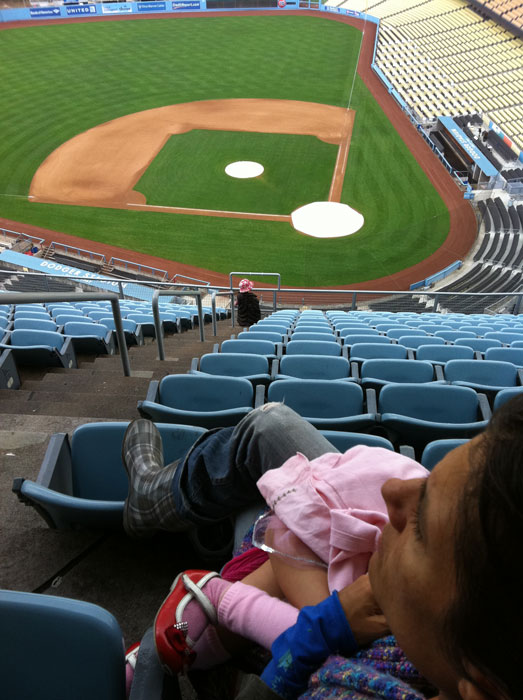
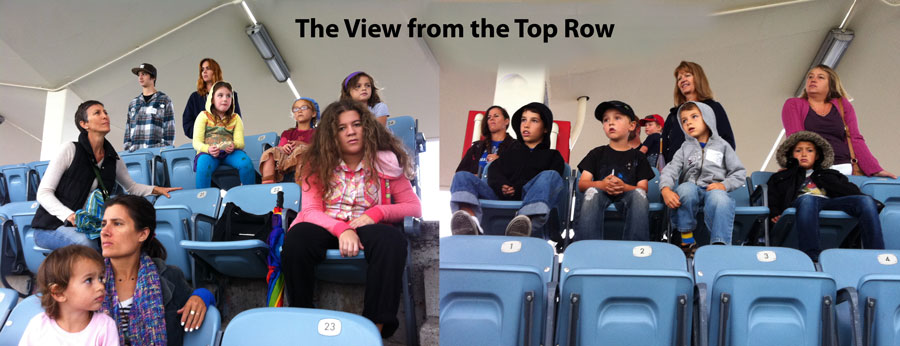
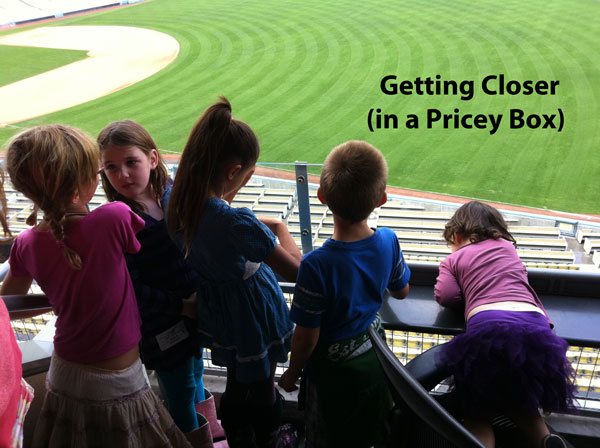
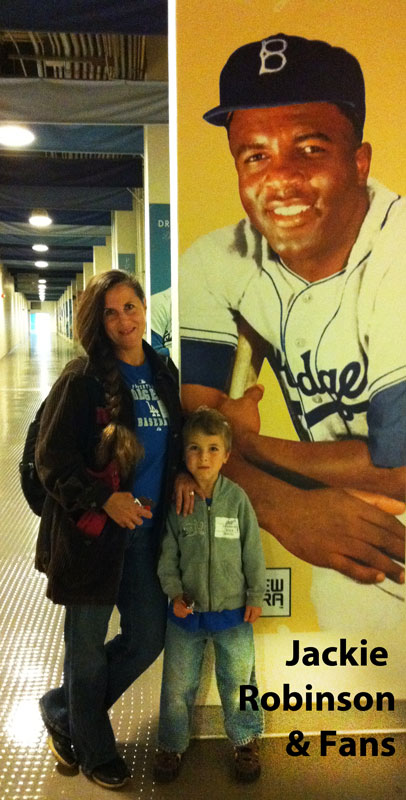
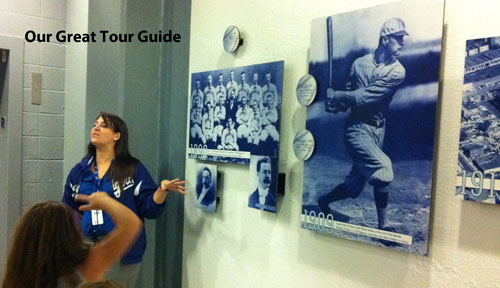
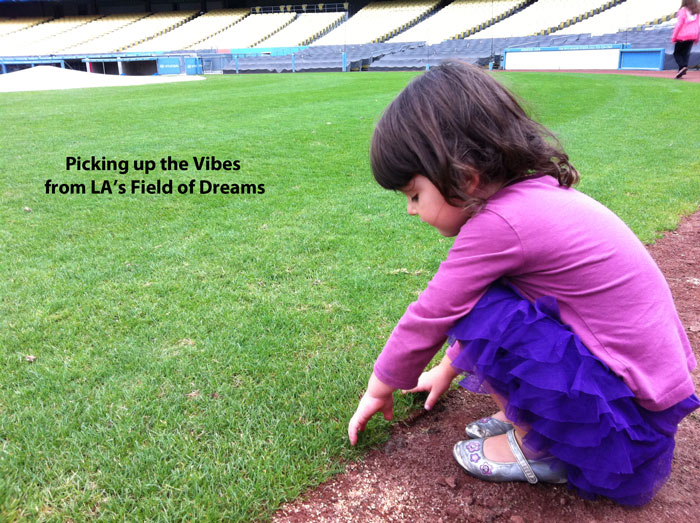
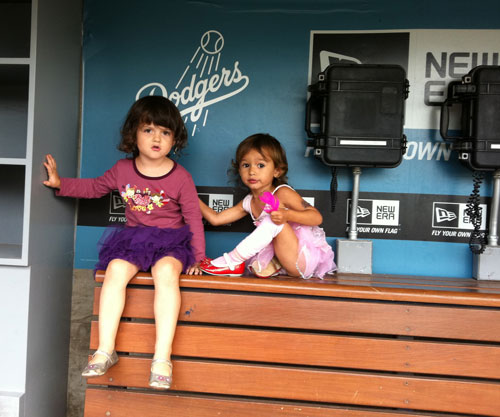
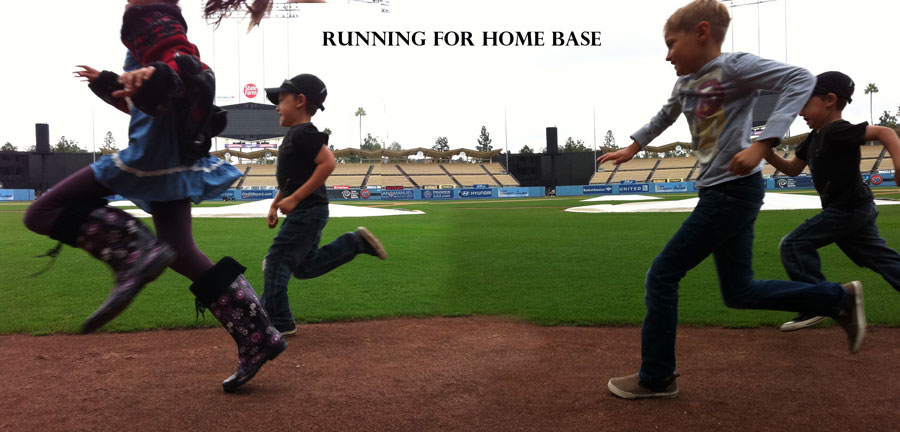
 rickety Cricket stadium in NC, where Cal Ripken got his start with the AA Orioles. The part that thrilled me as a child, was that you could throw your peanut shells 30 feet below on the dirt under the wooden bleachers. This
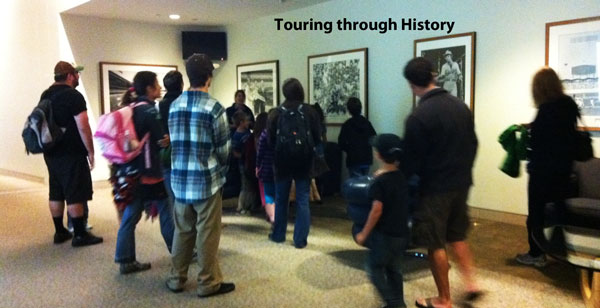
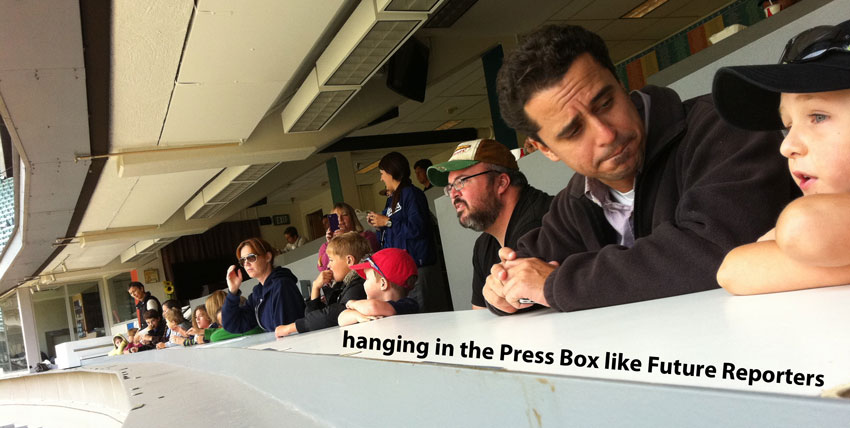
  memory transcended into a spontaneous round of,- “Take me out to the ballgame.,.buy me some Peanuts and Cracker Jack!” Thus endearing another generation to the game of Baseball. Thanks again to our coordinator “Special K” for a great fieldtrip.
 ]]>
]]>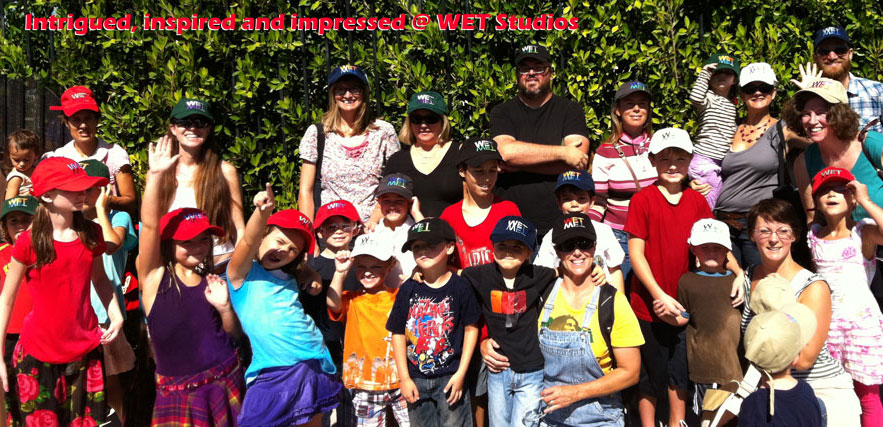 the world famous fountain production & design shop that is credited with creating the dancing
  Fountains of Bellagio, the Mirage Volcano and the World’s Tallest Fountain in Dubai. It is quite possibly, one of the greatest places to work – as it personifies the new business paradigm of being socially, ecologically and creatively consciousness. And employs a wider spectrum of talents than even Pixar or Google. These stylish employees
  are encouraged to use the wood shop, foundry and hi-tech goodies for personal projects and hobbies. WET Design understands that the creative idea is the greatest commodity of our future. This falls directly in line with our homeschool intent, encouraging our kids to “uncork and run with it” – no matter what that “it” is. After this tour,
  my 4-year old daughter asked me about how she could make money as an adult – as WET was the first place she imagined working in.
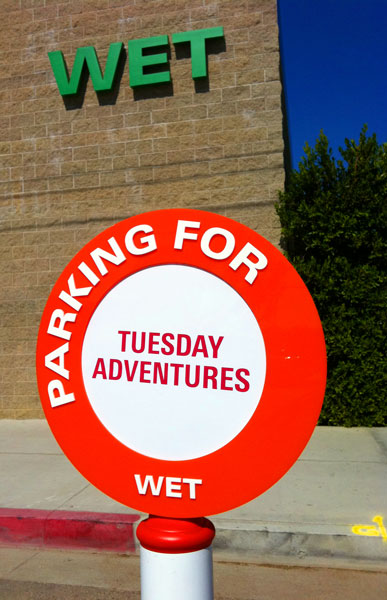
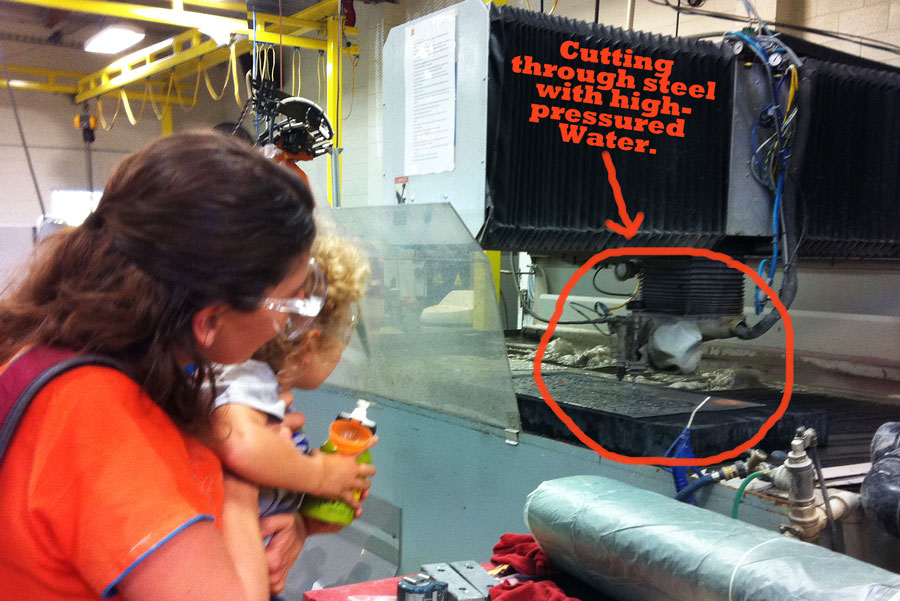
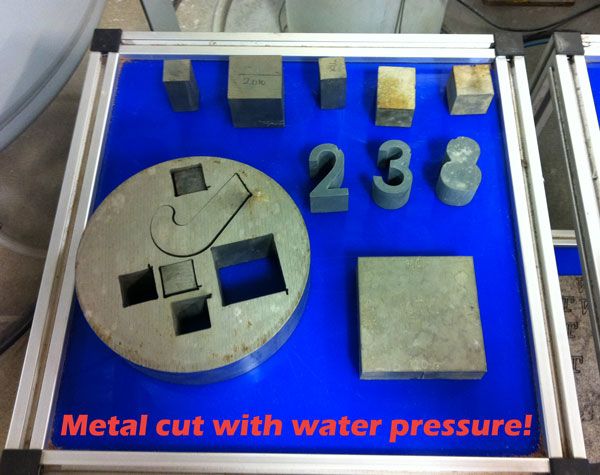
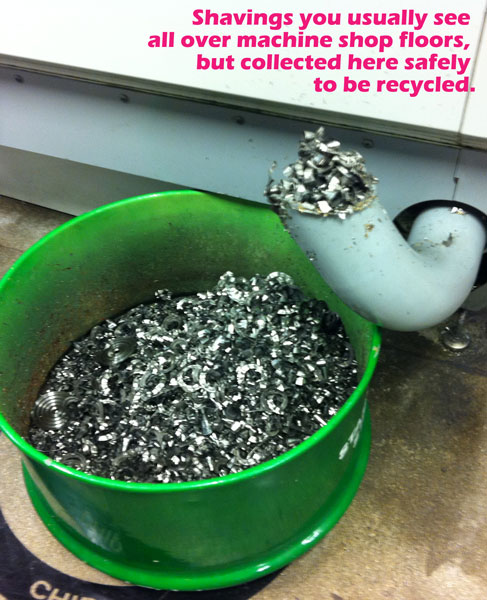
Our red carpet treatment at WET began with reserved parking and 4 tour guides handing out protective eye-gear. Entering the first building we learned that WET designs, develops and fabricates most of their own parts. 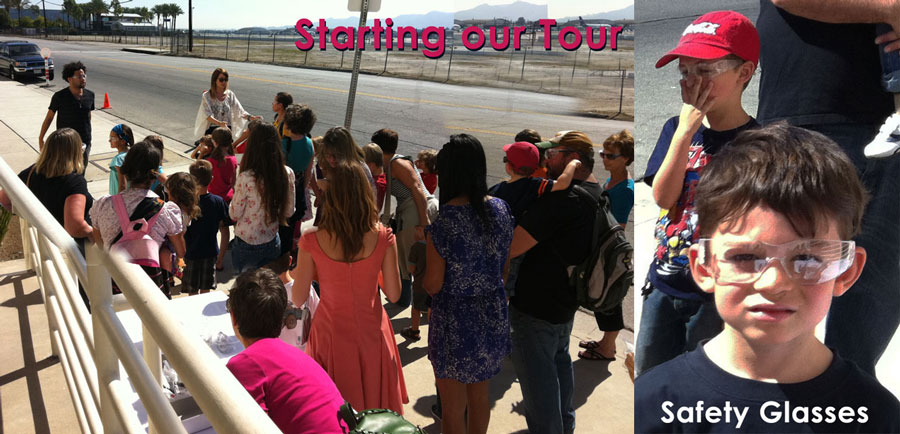 And when machines cut metal it is LOUD. For many, it was amazing to see machines cutting metal forms – and almost unbelievable and apropos that it was not a blade, but high-pressured hot water mixed with a sand aggregate that cuts designs into metal. And to follow up the splash of
  Superhero w
 ater, the next building we walked into, we witnessed sparks fly as a robotic arm welded fountain parts together.
 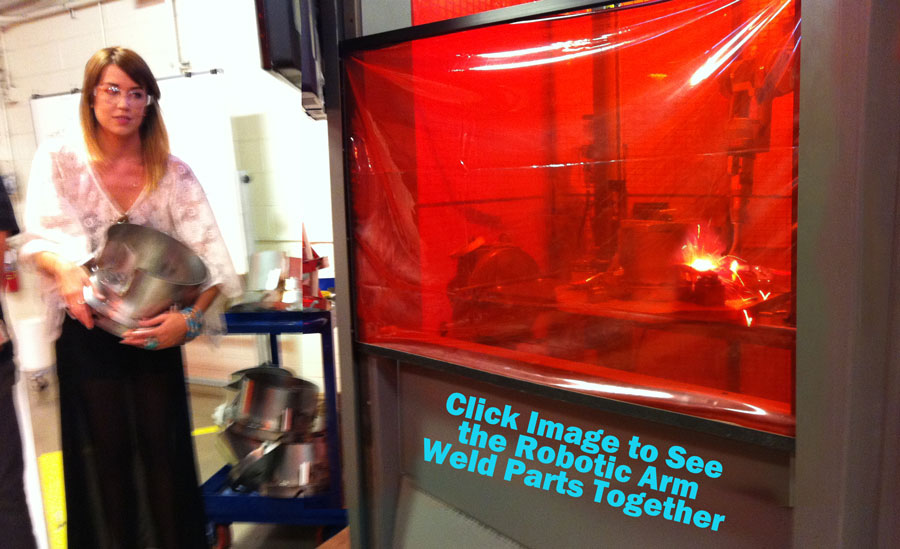 The red plastic curtain protected our eyes from the brightness of the the sparks which are bright enough to burn your retinas. We witnessed many designers, engineers, programmers and who knows what else, at work as we passed through more buildings and more rooms before pausing to watch footage of their work orchestrated to moving music. That room itself was filled
  with scale models of existing projects, this one is of a WET production room from their website.
After the machines, the movies, and the models it was now time for the MAGIC of the fountains (and air compressors). We walked across a giant lawn landscaped with an uber-water molecule towards the entryway of a 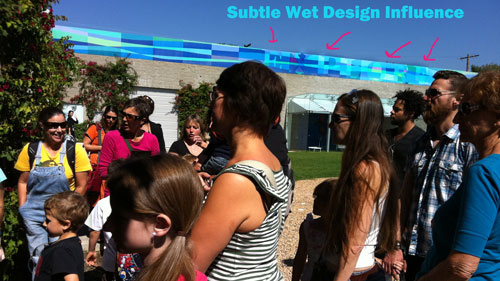
 warehouse workshop. This is where water and fire intermingle. By hiring pyrotechnic specialists who have worked on movie sets and rock & roll tours and embracing the champagne marathon mindset (uncork and run with it), WET mingles fire, water and music to dazzle the world. Jason thrilled our group indoors with fire and emptied gallons of water upon our willing volunteers outdoors.
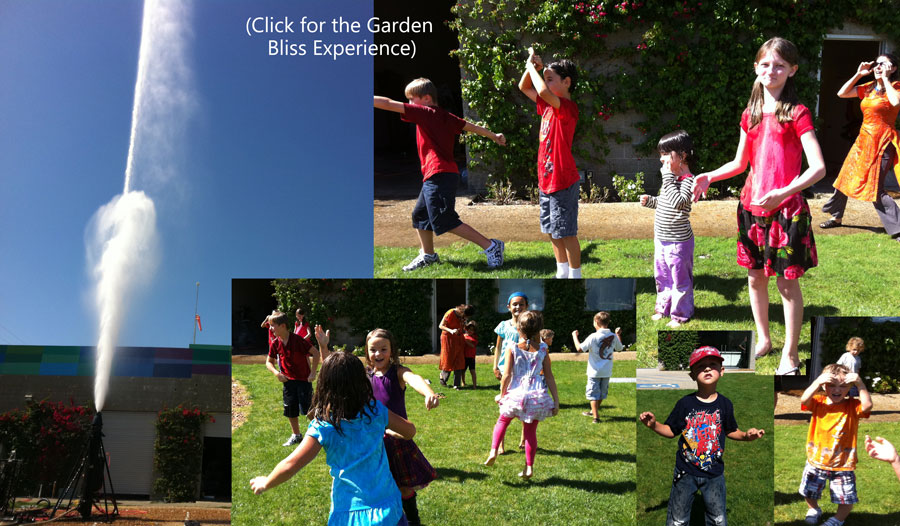
Our warmest thanks goes out to the staff @ WET who shared their magic with us – especially our guides Saban, Emily, Devyn, Stephanie. A shout also goes to the engineers offering us the welding show on their lunch break, and Jason for giving us the 70+ foot high show that drenched our kids (and some parents)! And of course, a thousand hugs to our coordinator Kristen for doing all the legwork. Thank you all!
]]>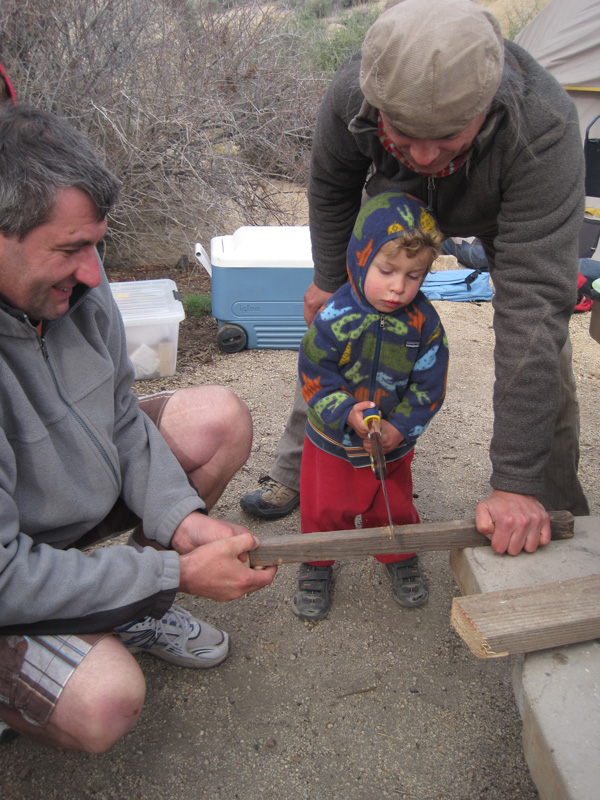 Don’t be afraid to let your kids use tools. One of the easiest ways to make a situation unsafe, is by questioning anyone’s ability to do it. By giving your children confidence and emotional support while using any tool, you will actually prevent accidents. But HOW do you convey that?
- Calmly explain the safety elements before the tools are in their hands which would distract them.
- Keep the directions to a minimum.
- Tell them you know they can do it.
- Don’t over correct.
- Pause the activity after a while and enjoy investigating the proof of their competency.
- Relax & realize that you can both have FUN working w/ tools.
Join the debate on how a healthy dose of “Risk Factor” introduced into our children’s lives benefits their emotional and physiological growth. See the article Can a Playground be TOO Safe from the New York Times or watch Gever Tulley’s TED talk on the 5 Dangerous things you should let your kid do.
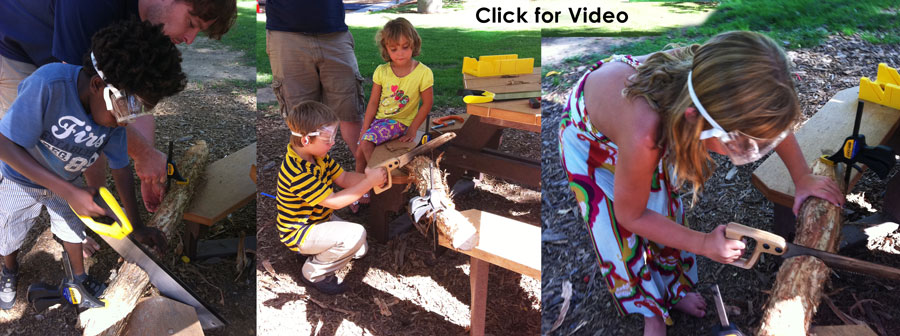
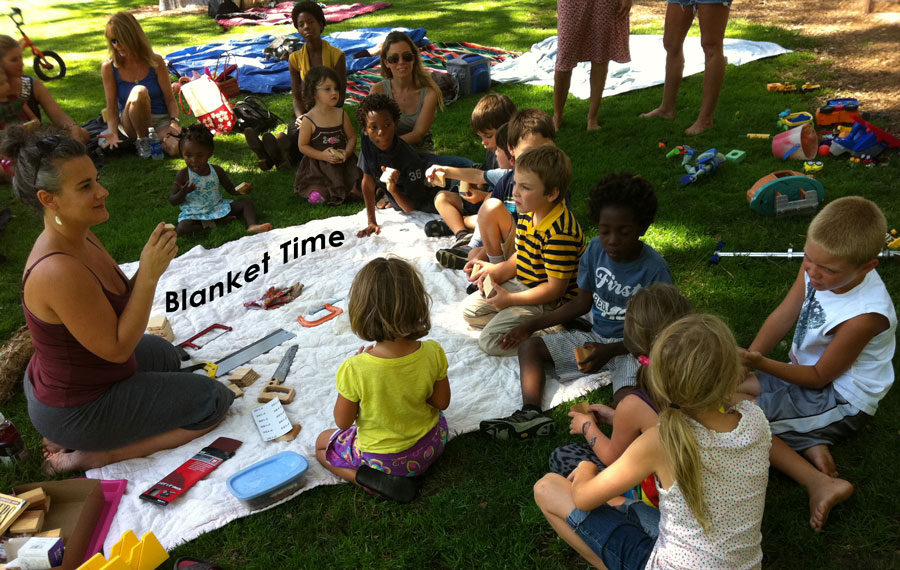
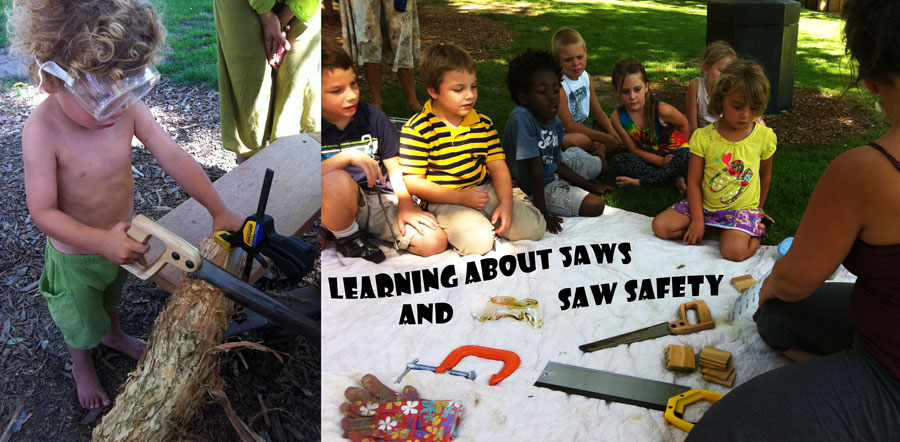 With parental supervision from my husband or myself- the dozen kids who wanted to saw wood took turns cutting clamped logs. This Howtoons Cut-to-the-Point printable poster offers a great guide for the purposes of different Saws & Saw Safety. Each child wore a pair of safety goggles, learned how clamps worked and utilized the proper etiquette for sawing (free hand on wood to brace, eyes always on a moving blade, and taking occasional breaks). Kids also learned how different teeth on a hacksaw and crosscut saw cut wood.
 With
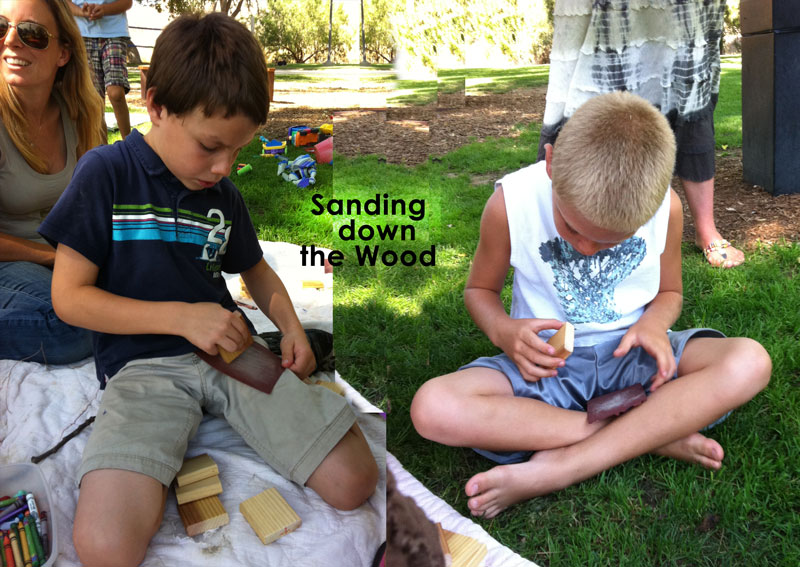
With  finished wood, sandpaper and tacks, kids and parents turned back the clock to the 1800′s by making their own Jacob’s Ladder. Kids sanded the edges of 6 wood squares that I had sawed earlier and assembled them with ribbons and tacks. Just like kids would have done 100 years ago, making a Jacob’s ladder was the perfect way to practice with Pa’s tools which they may one day inherit to provide for their family. Kids would up-cycle leftover wood and not only have a toy to play with, but show off their creativity and craftmanship.

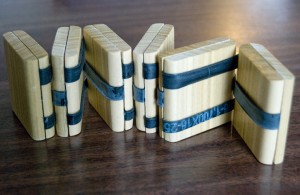 How to make a Jacob’s Ladder click for visual directions
Step 1. Cut wood into 2.5 inch blocks from 1/2 inch thick plank (need 6)
Step 2. Sand edges of the wood w/ sandpaper
Step 3. Attach 3 ribbons (18″ each) onto wood w/ tack
Step 4: Lay additional blocks & tack ribbon alternately
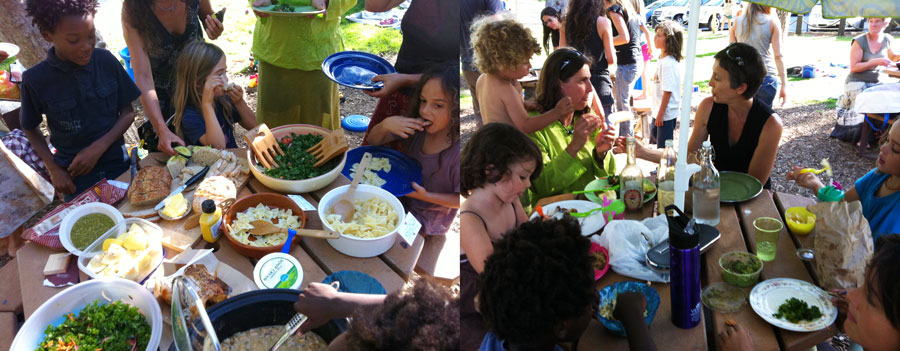
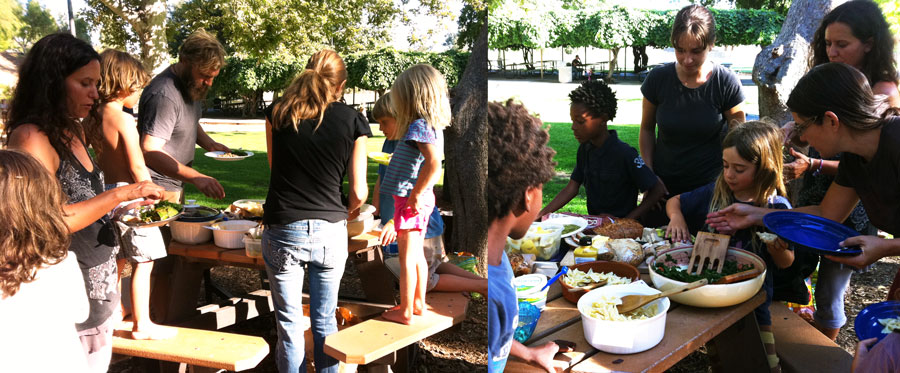 And as happens on every 3rd Thursday of the month we have a Potluck – when we invite friends and family to share our loving village. We feasted on Vegan Thai Chili, Roasted Chix, homemade salsa verde, fresh baked bread, Kale salads, fresh fruit, and pies. Everyone brings their own plates and utensils from home. It’s a carbon footprint thing. How fun it is to play with other families into the night past sundown.
Thank you Maggie for the inspiring idea, the multitude [...]]]>
Thank you Maggie for the inspiring idea, the multitude of supplies and the memorable fun!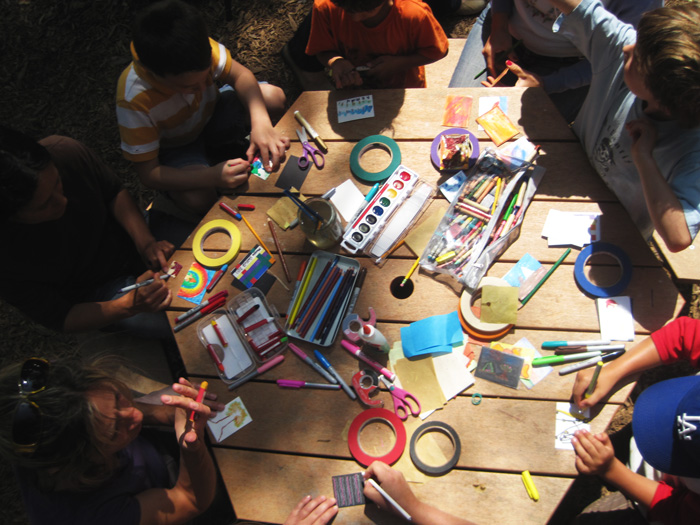
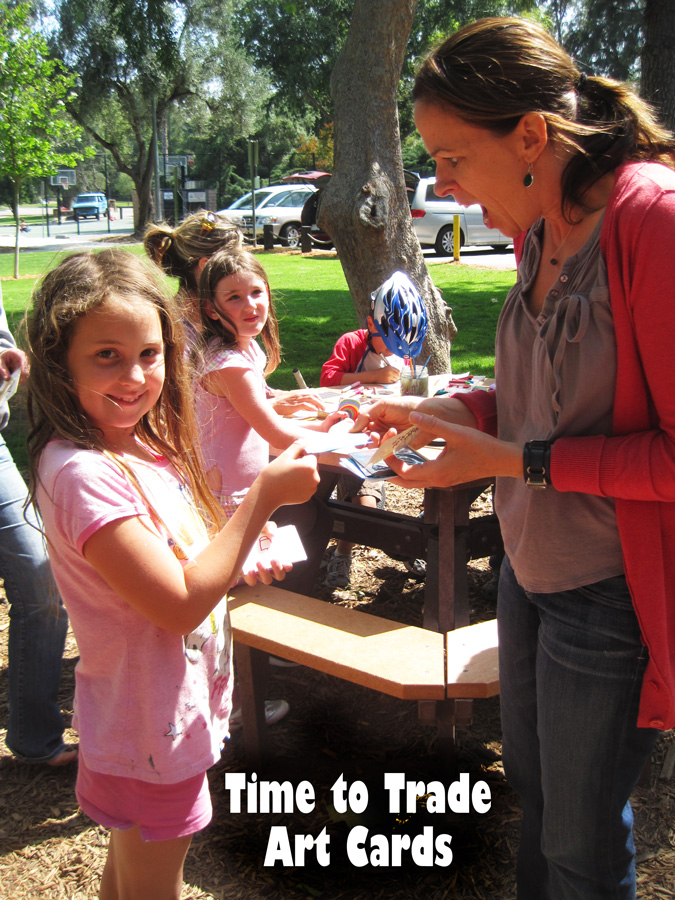
What are Artist Trading Cards?
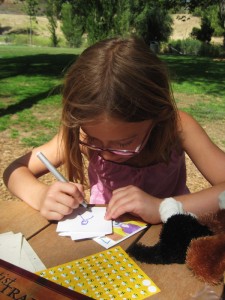
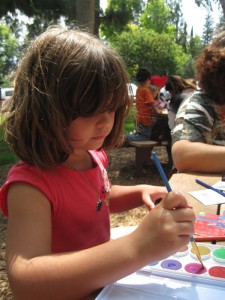
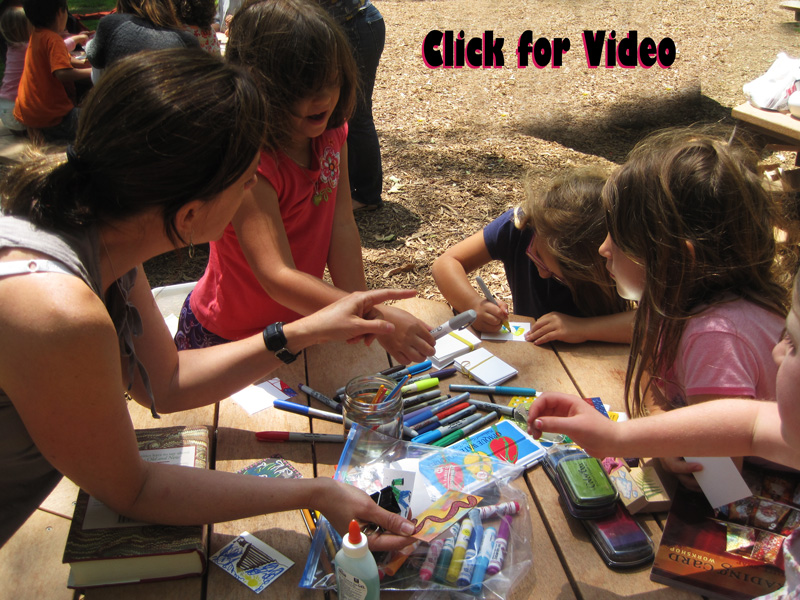
Artist Trading Cards are a popular activity for artists all over the world. These original works of art are the size of a playing card at 2.5″ x 3.5″. Collecting cards is a fun way to own original works of art, and artists find the small scale pieces a good way to experiment. They are made with a number of different mediums, including paint, paper collage, rubber stamps, wax crayons, photography. Trading sessions allow artists to meet, discuss and trade their own Artist Trading Cards.
The number one rule of Artist Trading Cards is that they should never be sold, only traded.
History of Artist Trading Cards
The concept of Artist Trading Cards began by artist m. vänci stirnemann. In May 1997, stirnemann held a gallery showing of 1,200 cards in Zürich, Switzerland, where he collaborated with artists Cat Schick and Gido Dietrich. Visitors who attended the show were told that if they wished to have one of the cards they must bring one of their own creations to trade for it. Canadian Don Mabie (a.k.a. Chuck Stake) attended the first trading session in Zürich and brought the first North American Artist Trading Card Session to Calgary in 1997 (in collaboration with stirnemann) at The New Gallery in Calgary, Alberta. Regular trading sessions are held all over North America at various art galleries, schools and colleges – and now Mudpies & Butterflies PARKDA YS.
YS.
_________________
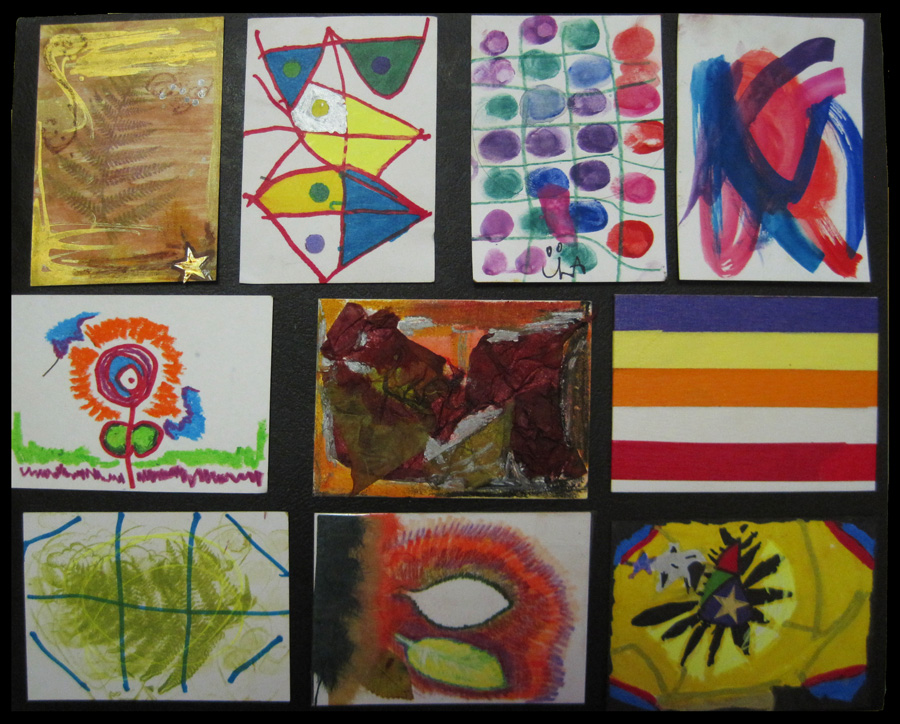
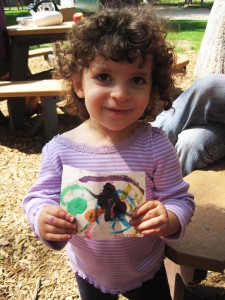
Cards Created & Traded by Our Kids
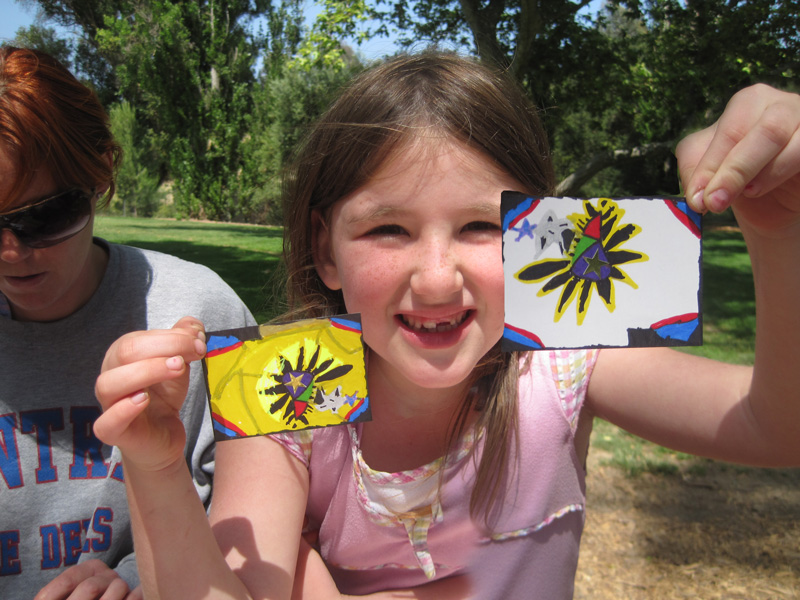

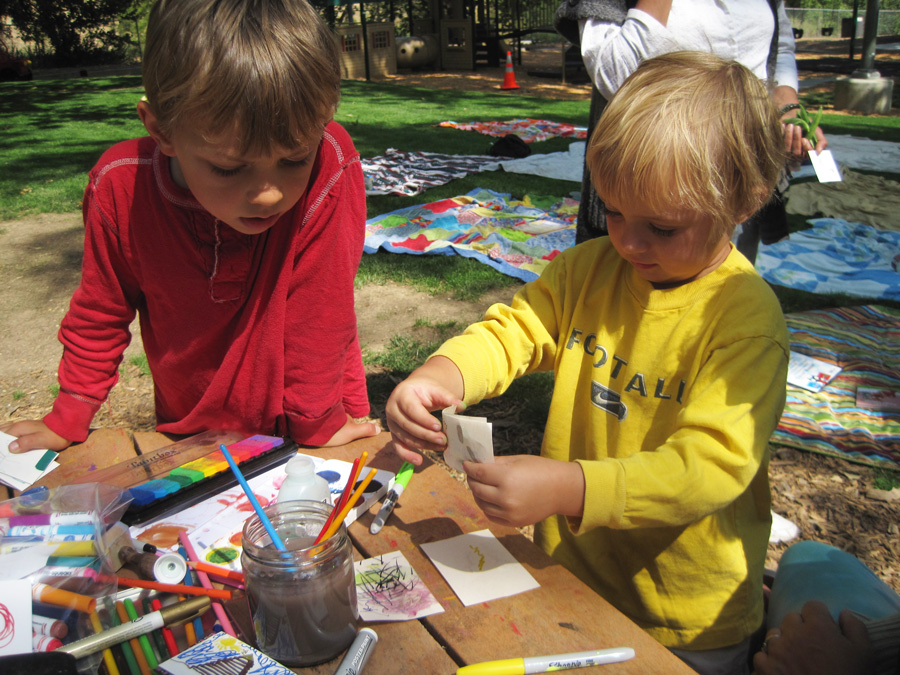
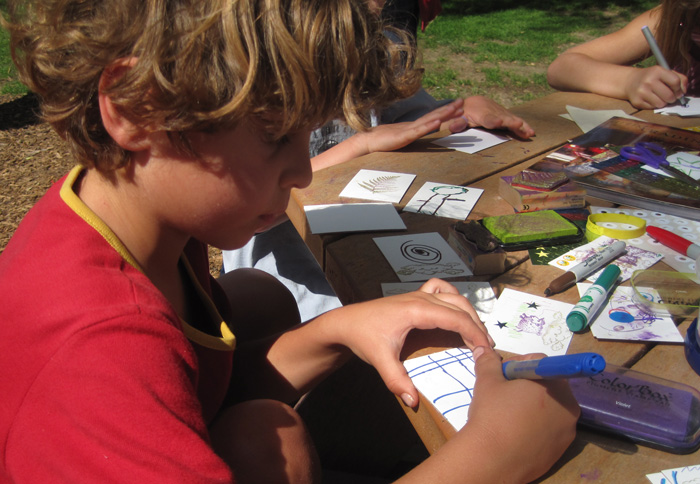
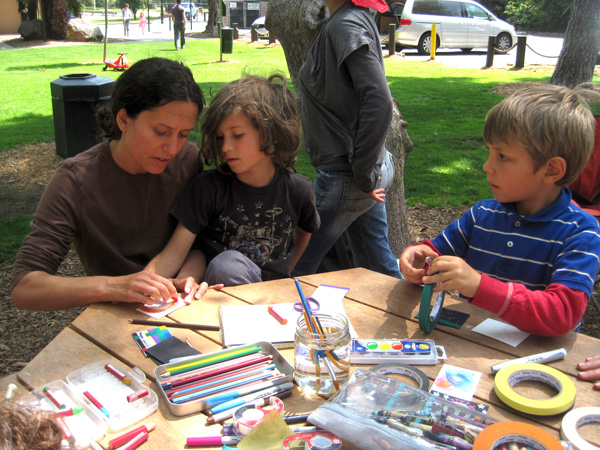
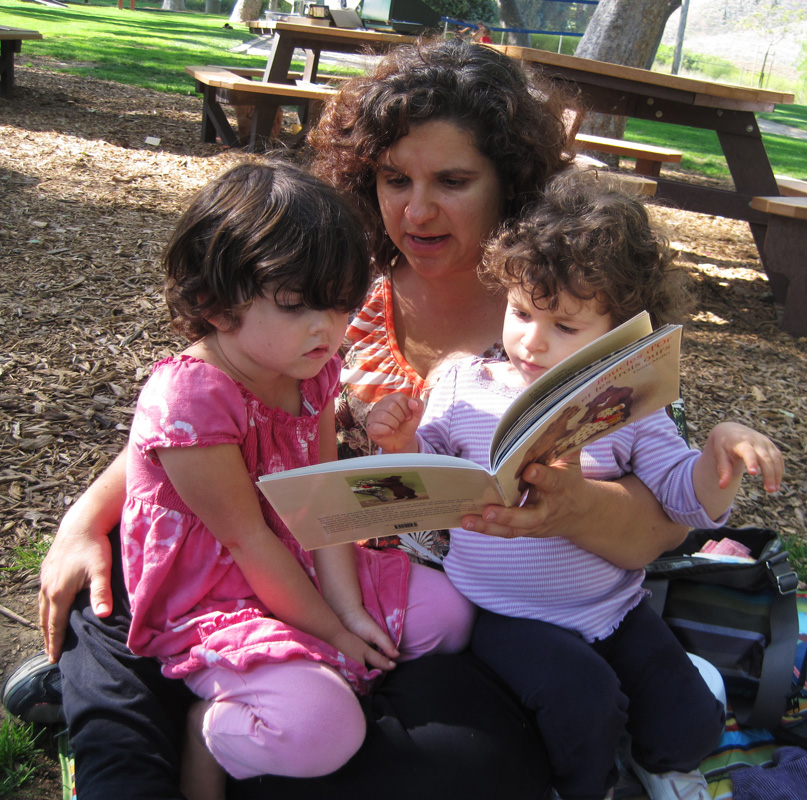
…………………………………………………………………….. And for some other events that took place through out our amazing parkday.

]]>


